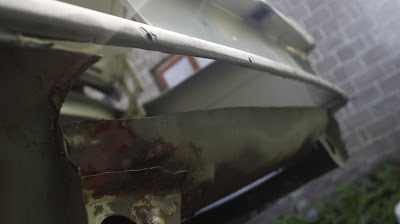
Takahelma näyttää aika pahalta. Jotta pääsen siihen paremmin käsiksi täytyy takapuskuri irroittaa.
The rear skirt looks bad. To get to it I must remove the rear bumper first.
Kaksi pulttia pääsivät pyörimään, joten leikkasin ne kulmahiomakoneella.
Two of the bolts were loose so they had to be cut with an angle grinder.
I cut away the pieces of metal that hold the rear skirt in place, they were sticking out and were useless.
Takapuskuri irroitettuna ja ennen harjausta.
The rear bumber now removed and before brushing.
Harjauksen jälkeen.
After brushing.
Ja tällaista jälkeä löytyi.
And this these were found.
Kulmahiomakoneella lippa pois. Vielä pitää irroittaa pieni kaistale lipan alta. Ei iso homma!
The lip was cut away with an anggle grinder. Still a small strip must be removed behind the lip. No biggie!!
Jätin pienen palan lippaa sen toisesta päästä, jotta voin ottaa hieman mallia siitä.
I left small piece of the lip so I could use it as a guide.
Takakontin takaseinän alareuna oli myös ruosteessa, joten päätin irroittaa koko uloimman verhouksen. Samoin takakontin pohjassa oleva vastapala oli ruosteessa, joten sekin sai lähteä. Takakontin pohja on leikattu irti kahdesta syystä, joista toinen korjaustöiden helpottaminen. Toinen on polttoainesäiliön mahdollinen asennus lattian läpi.
The lower section of the rear wall in the trunk was heavily rusted so I took away the whole inner wall.
Also the part it was welded to was rusted so I took it away as well. I cut away the floor too for two reasons; making the repair work easier and making it possible to mount a fuel tank through the floor.
Sapluunalle saa oikean muodon helposti, hankaamalla sitä jollain tylpällä. Tällöin esiin tulee leikattava linja.
To get the correct shape on the stencil one must rub something blunt against it. This way the correct shape will show up.
Loppupään sapluuna leikattuna.
The last part of the stencil cut to shape.
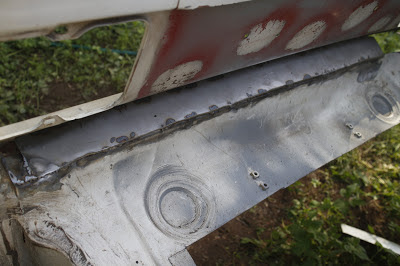
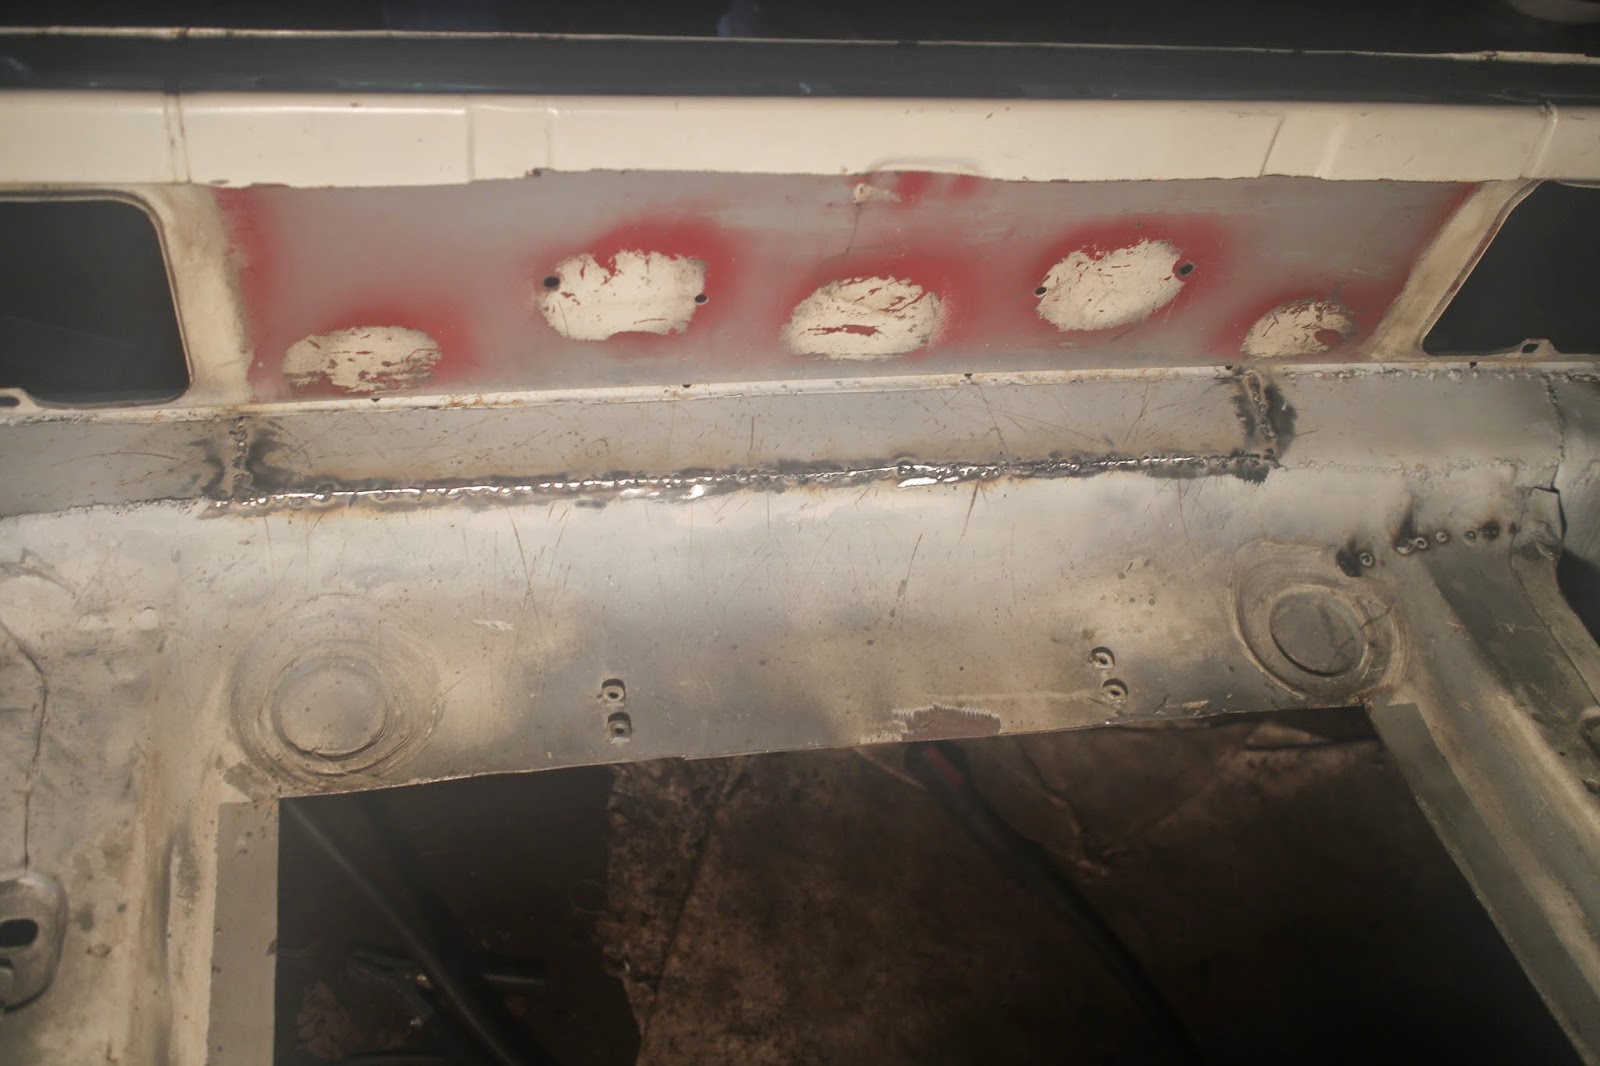
Isoin soiro hepattuna paikalleen. Säädöistä huolimatta, en saanut täytelangallisella MIGillä syntymään siistejä heppauksia. Lainaan seuraavia kertoja varten toisen laitteen. Sen minkä hitsi heittää, se kitti peittää.
The bigger strip is now in place. Due to bad equipment I could not make nice welds so I will borrow a better machine next time.
Nyt tuli irroitettua tuo yllä tehty helmapaikkaus kokonaisuudessaan irti ja tehtyä uusiksi.
Now I have removed the above patch completely and redone it.
Lattian ja helman sauma on vielä hitsaamatta, koska lanka loppui kesken.
The seam between the floor and the skirt hasn't been welded yet, since I ran out of coil.
Jakorjaus on valmis.
And now the fix is ready.
Puskurinkiinnikkeen korvake oli poistokunnossa.
The bumber's attachment's fix point was in cut-away -condition.
Tuo ruostunut sivuseinämä/ -tuki pitää vielä poistaa samalla tavalla, kuten poistin apukuskin puolelta.
The rusted sidewall/ bracing must be cut off the same way as I did on the passenger's side.
Uuden korvakkeen tekoa.
Making the new attachment point.
Vielä pitää tehdä keskireikä, pulteille reiät ja hitsata mutterit vastapuolelle.
Still have make the center hole, holes for bolts and weld on nuts on the other side.
Mutterit saa pysymään paikoillaan pulttien avulla.
By screwing on two bolts, the nuts are secured in place tightly.
Tässä olen leikannut sen sivuseinämän, mikä on kahden muotopellin liitoskohta. Pois on leikattu myös muuta ruostumaa sivummalta.
Here I have cut away the sidewall which is actually two sheet metal's attachment point. I also cut away some more rusted parts more to the side.
Tuo puskirin kiinnikekorvake pitää vielä tarkastaa, että onko miten pahasti ruosteessa, niin näkee pitääkö sekin uusia.
The bumper's attachment point must be checked, so I know do I have to renew it also.
Kiinnikekorvake on syöpynyt ainoastaan hivenen alareunastaan, joten sen leikkaamisella pärjää. Sapluunat menivät uusiksi, joten paikkaus näyttää nyt tältä.
The attachment point is only slightly corroded on the lower edge so by cutting that away it will do. I redid the templates so this is how the fix looks like.
Ei näillä hitsauksilla palkintoja saa, mutta olen tyytyväinen lopputulokseen.
You wont win any prices with these welds, but I'm happy with the results.
Viimeisenä lattian paikkausta.
And finally patching up the floor.
Näiden korjausten myötä tämä osio on nyt valmis.
This section is now complete.


